Pulse Stack 5 Tutorial
Topics
Videos
Pulse Manual
This tutorial is not a replacement of the official Pulse Help.
The official Pulse Help is located under https://www.pulsecms.com/help/.
Install Pulse 5
In order to be able to use Pulse Stack 5, a running Pulse 5 installation is required.
Pulse 5 must be installed in a subfolder /pulse inside the web server html root folder. The RapidWeaver project containing the Pulse Stack 5 must have its project root also in the web server html root folder.
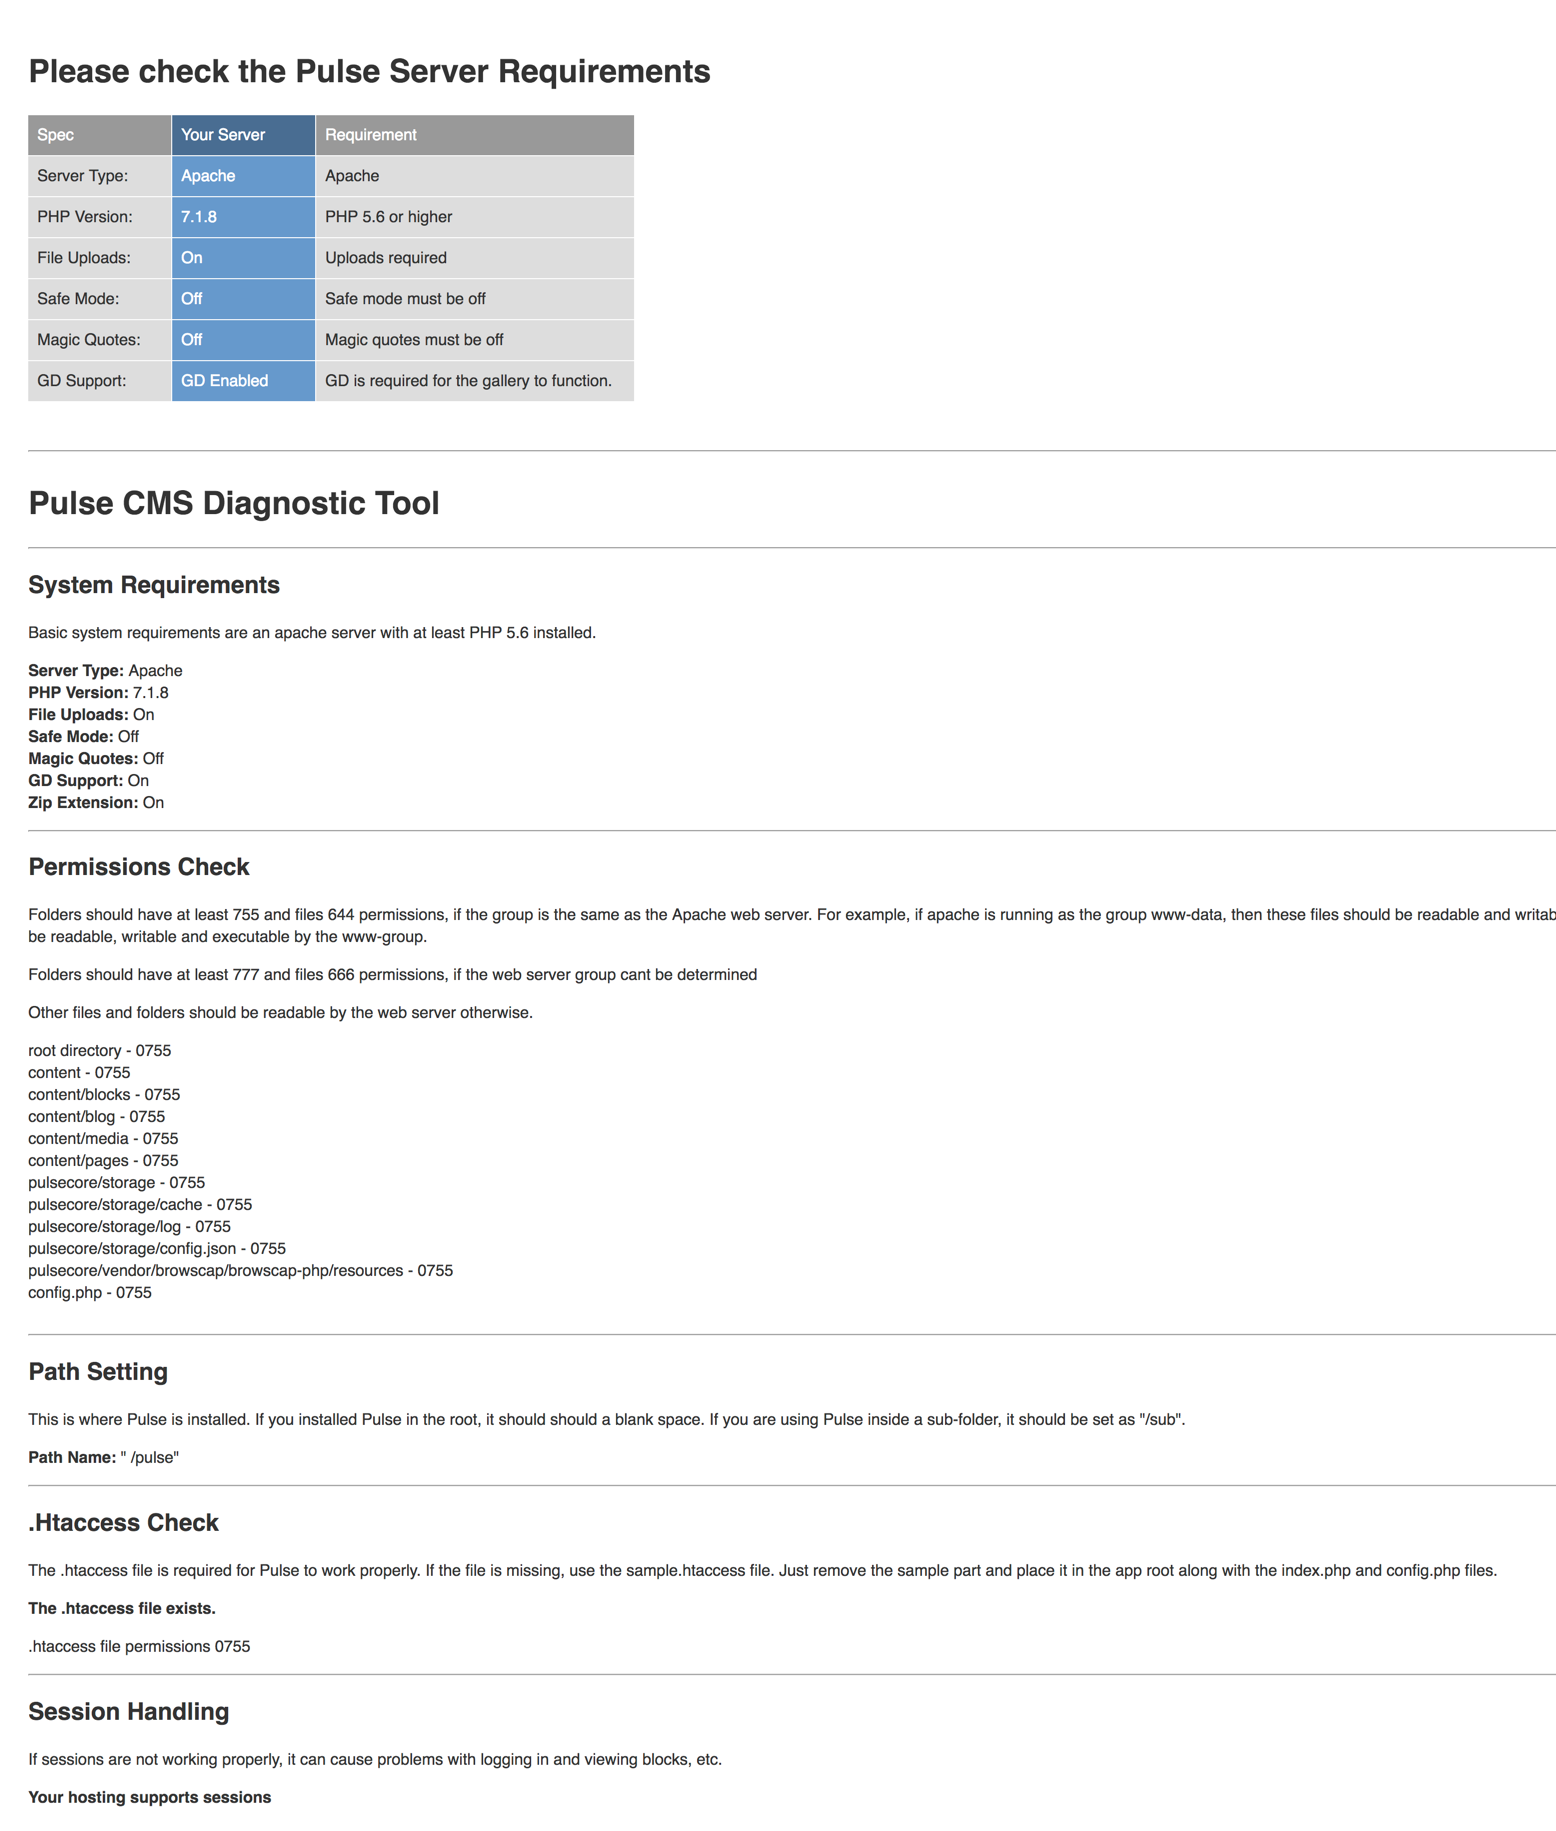
After installing Pulse 5 inside the subfolder /pulse, run the install script located under /pulse/admin/install.php for correct initialisation of Pulse 5. The installatiion dialog should look like shown below. The Pulse 5 admin dashboard is afdterwards located under /pulse/admin.
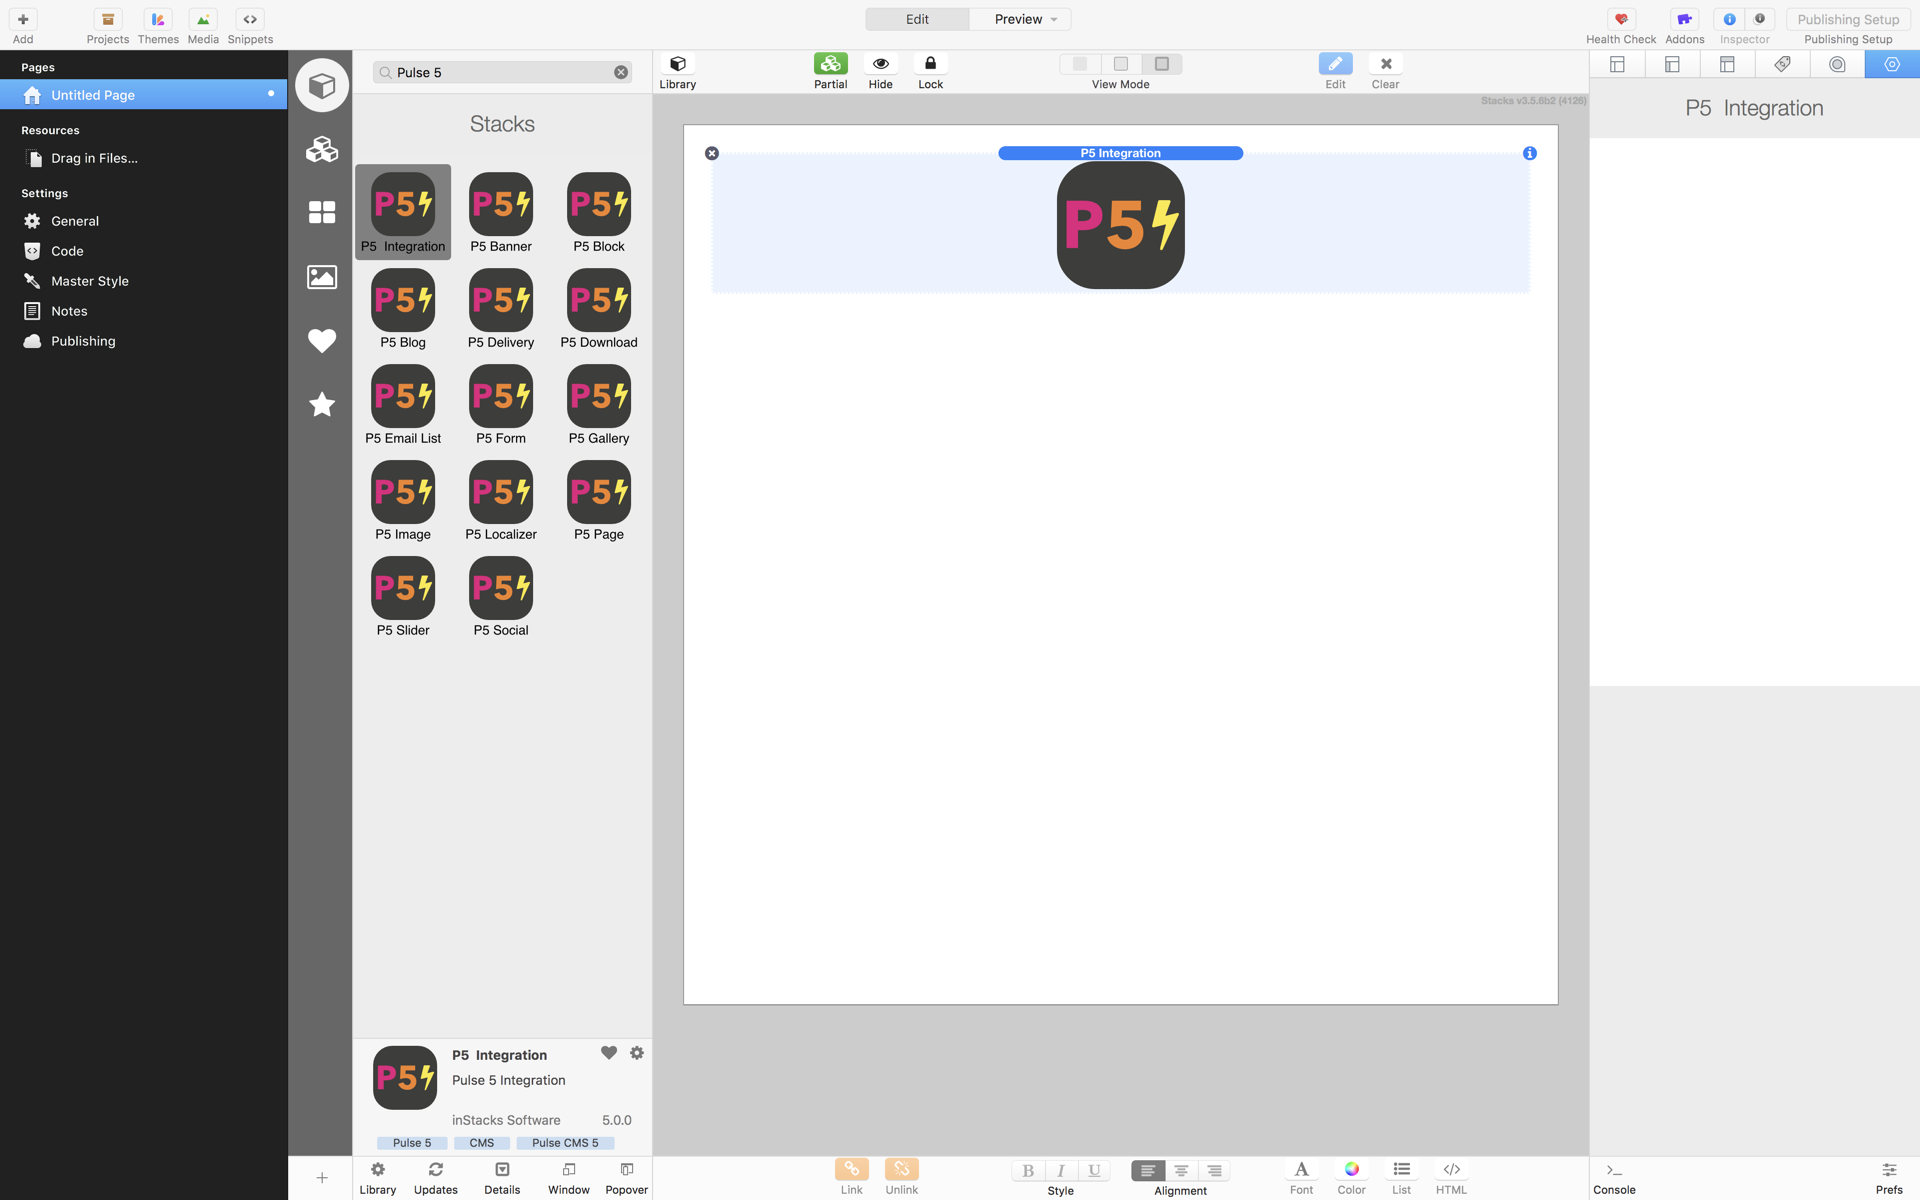
Integration Stacks in Stacks Plugin Library
The integration stacks can be found when searching in the Stacks Plugin library for Pulse or P5.
Each Stacks page must contain one instance of the P5 Integration stack, best places on bottom of all pages.
Block (Text Content) Integration
Blocks are sections of content that you can edit with an easy to use WYSIWYG editor. Blocks are useful for sections of content that repeat or if you just want to make editing easier for someone who prefers not to edit pages in html or markdown.
To place a block on a page, add a P5 Block Stack. Insert the Block Name to the stack settings:
- e.g. home/home for a Block within the folder name home and the file name home.txt
- about/about-left for a Block within the folder name about and the file name about-left.txt
In addition, you are able to use the tag {{block:home/home}} in any other textual stack.
If you want ot place a block inside the title, slogan, footer, page name, or other RapidWeaver text input fields, use the super blog tag sb_block, which will not perform a markdown conversion, and with this, doesn't generate additional html tags: {{sb_block:sb_blockname}}

Multi Language Content
By using the P5 Localizer Stack, it is possible to use different language Blocks based on the site visitors language. The general workflow works in the following way:
- You have a block you want to translate. Lets give it a name: blockname.
- In Pulse 5, you store this as blockname.txt file inside the Blocks folder of the admin UI (or a subfolder).
- This blockname acts as standard or fallback text, most probably English. It will be displayed all the time when no translation variant is available for the blockname.
- In order to create a translation version for this module, e.g. in German, add a blockname-de.
- In Pulse 5, you store this as blockname-de.txt file inside the Blocks folder of the admin UI.
- In all cases where the visitor of your site is using the German language, blockname-de will be displayed. In all cases the visitor has another language setting, blockname will be displayed.
- It is possible to create multiple translations at the same time with adding additional blockname variants, all followed by a dash and the 2 letter ISO language code. Check the list of ISO 639-1 codes therefore.
You are also able to use the respective tag {{localizer:blockname}} on the page, or {{sb_localizer:sb_blockname}} for non markdown conversion in title, slogan, footer, page name, or other RapidWeaver text input fields.
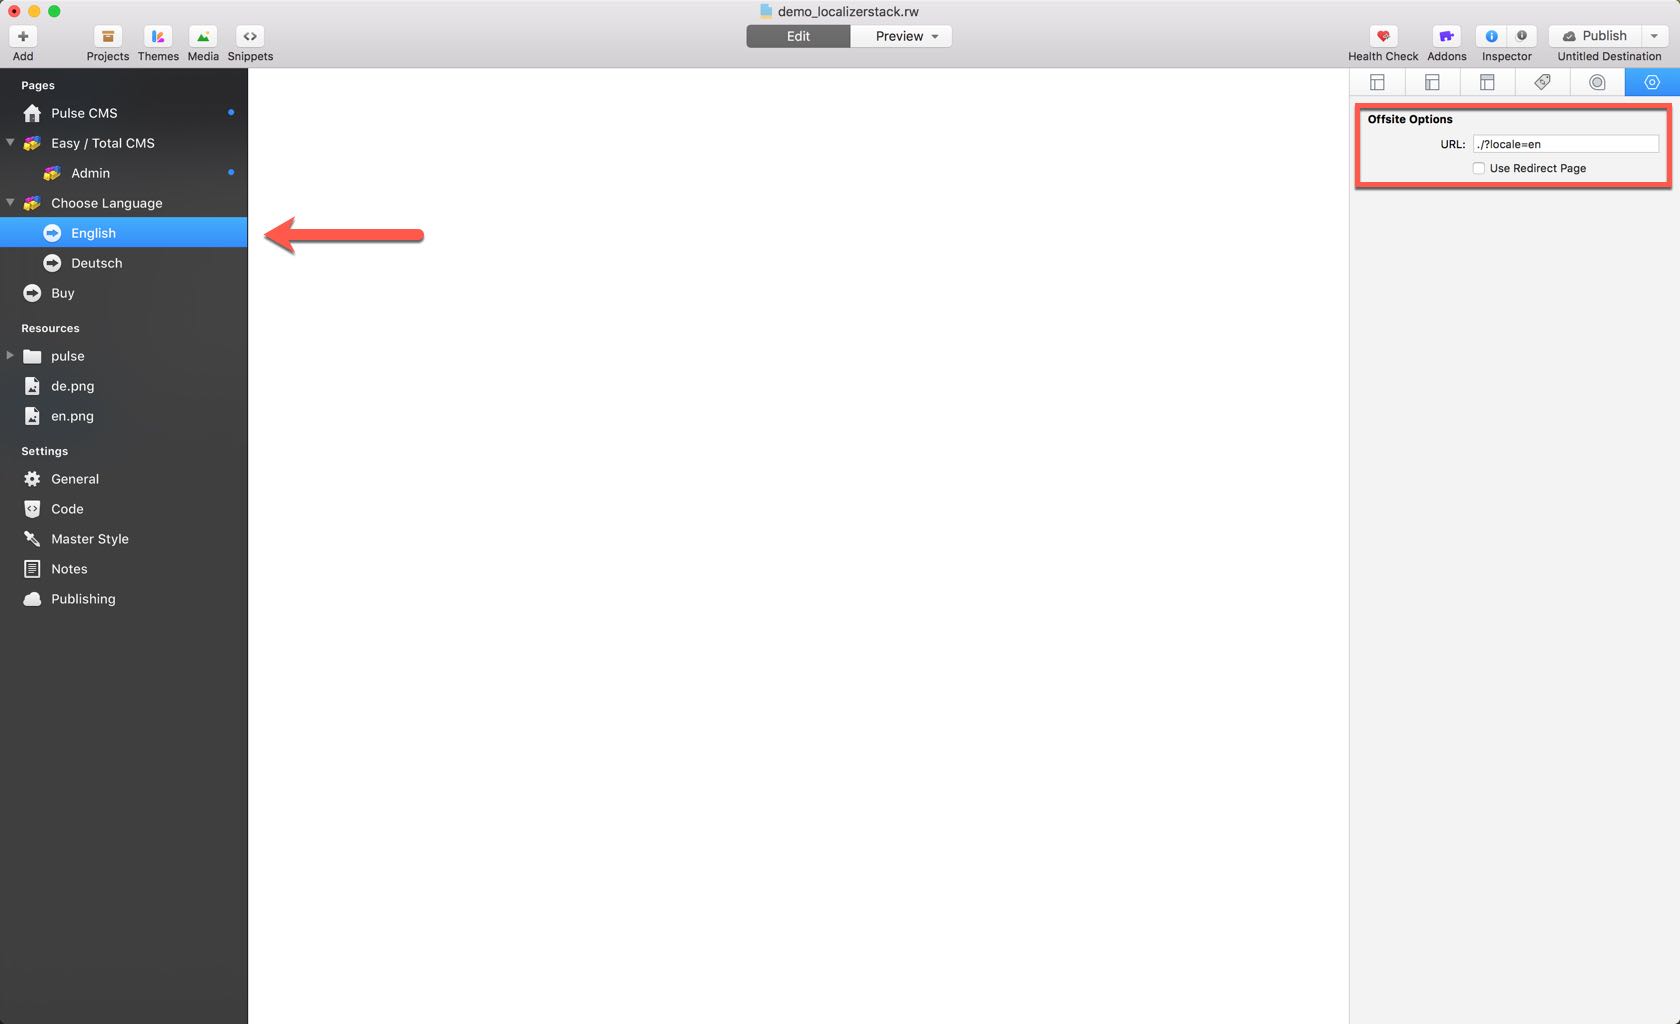
Provide Language Selector
In order to select the language, the page has to be loaded with the URL parameter locale = 2 letter ISO language code. Here are some examples:
You add 2 buttons on your home page, both with links to either http://yourpage.com/?locale=de for German, or http://yourpage.com/?locale=en for English (in above example our fallback language). This will trigger a reload of the home page with the selected language.
You add 2 navigation items in your menu, both with links to either http://yourpage.com/?locale=de for German, or http://yourpage.com/?locale=en for English. This will also trigger a reload of the home page with the selected language, independend where the user is currently inside the menu structure.
You add 2 navigation items in your menu, both with relative links to either ./?locale=de for German, or ./?locale=en for English. This will trigger a reload of the current page with the selected language, independend where the user is currently inside the menu structure. In order to make these relative links working, make sure all your pages are Stacks pages with an instance of Localizer Stack.

Gallery and Slider Integration
Galleries are a great way to show photos in a grid with light box, sliders respectivly in a slide control. To create a lightbox image gallery or slider, just create a new folder in the Pulse Admin area and upload images into it.
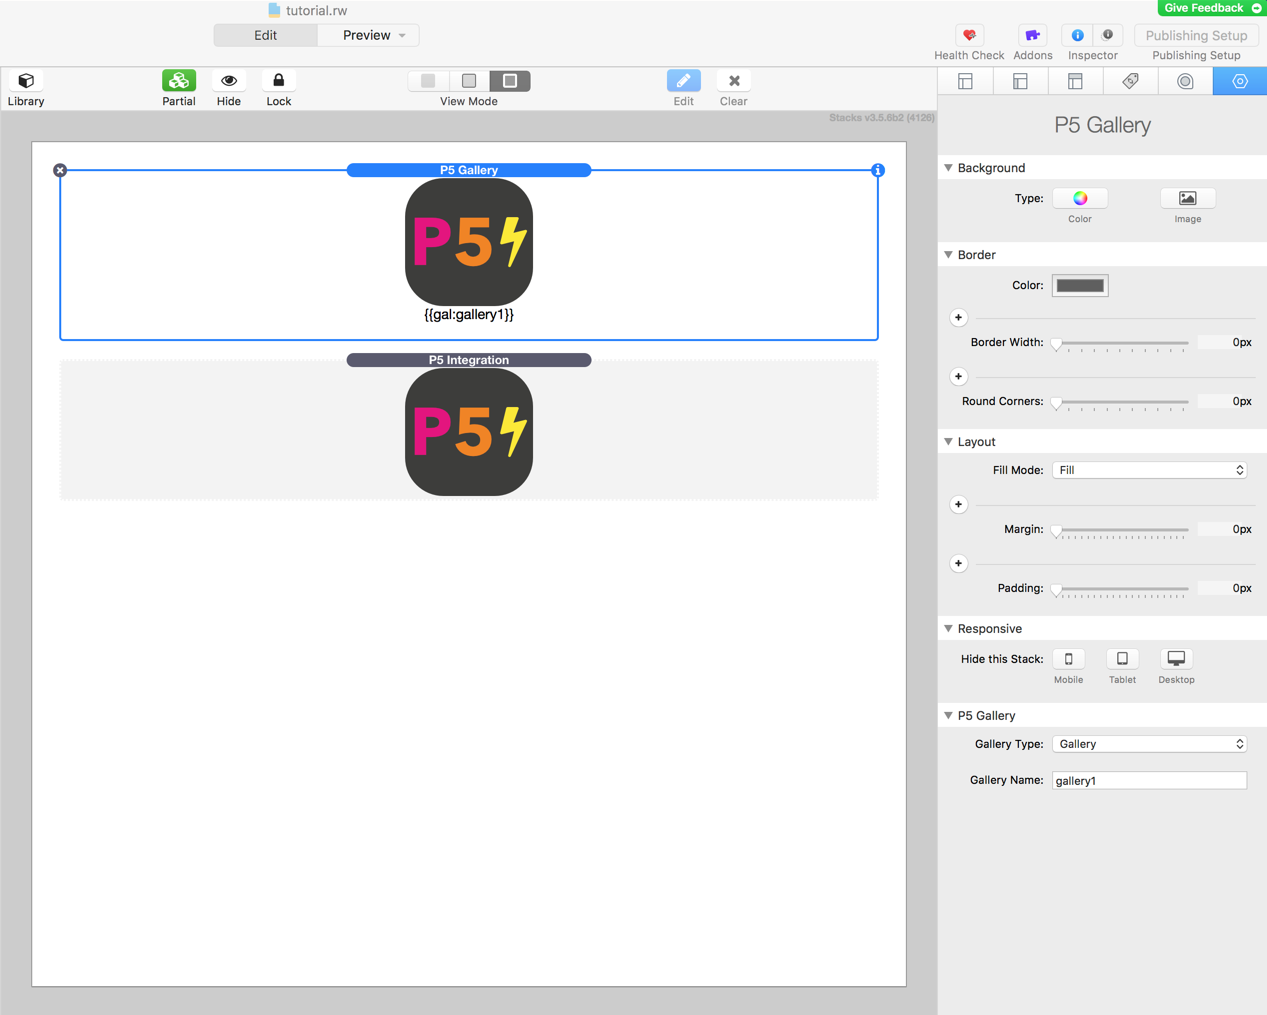
In order to use the inbuilt gallery integration, add a P5 Gallery Stack to the Stacks Plugin Page. Insert the Gallery Name to the stack settings, e.g. gallery1. Chooce the type of gallery (normal gallery grid, masonry grid, thumbnails with just links and no lightbox). In order to use the inbuilt slider integration, add a P5 Slider Stack to the Stacks Plugin Page.
You are also able to use the respective tags directly on the page, like
- {{gal:gallery1}}
- {{masonry:gallery1}}
- {{thumbs:gallery1}}
- {{slide:gallery1}}
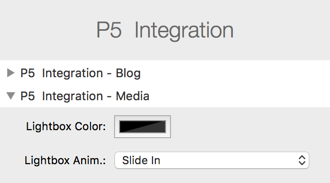
Style the lightbox color and anymation in the P5 Integration Stack.
Gallery Stack 3 Integration
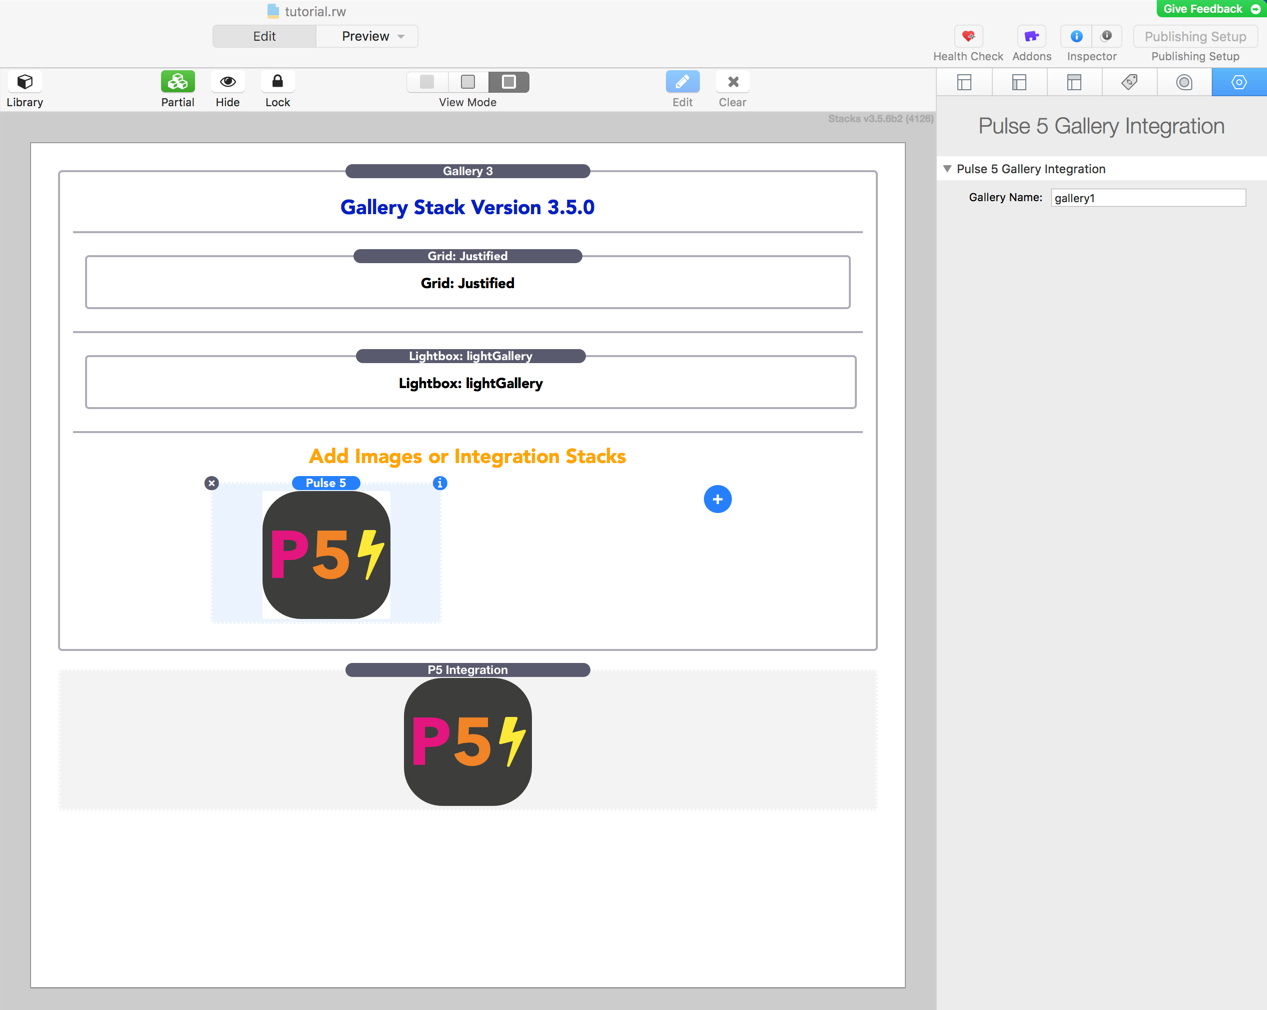
In addition to the inbuilt Galleries, an integration into Gallery Stack 3 is also available.
In order to use the Gallery Stacks 3 integration, add Gallery Stack 3 to the Stacks Plugin Page. Inside Gallery Stack 3, select the P5 Gallery Integration, and enter the Gallery Name, e.g. gallery1
Single Image Integration
The Image Integration just displays a static image in an img tag. Add a P5 Image Stack to the Stacks Plugin Page.
In order to display the first image of a gallery, select Gallery and insert the Gallery Name to the stack settings, e.g. gallery1. For displaying a dedicated image, select File, and enter the relative path to the image located inside the media folder.
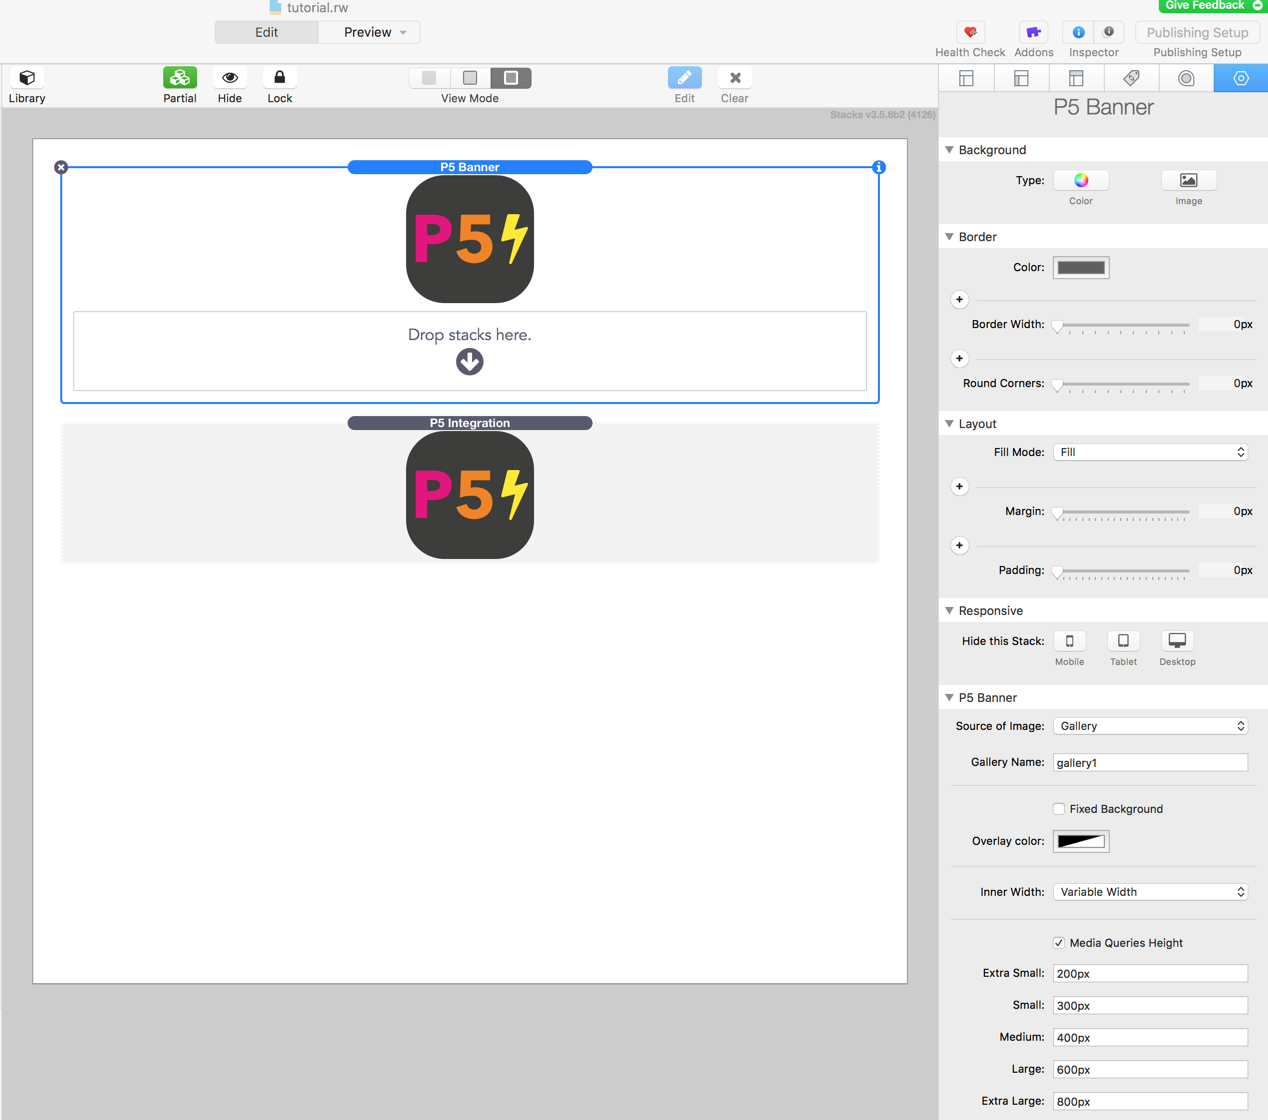
Banner and Sections
The Banner amd Sections Integration displays a static image in a background image tag, which is usefull for banner selection of framework themes, or section dividers in a page. It is possible to display additional content on top of that background image.
Add a P5 Banner Stack to the Stacks Plugin Page.
In order to display the first image of a gallery, select Gallery and insert the Gallery Name to the stack settings, e.g. gallery1. For displaying a dedicated image, select File, and enter the relative path to the image located inside the media folder.
The Fixed Background checkbox will apply a parallex effect to the background image.
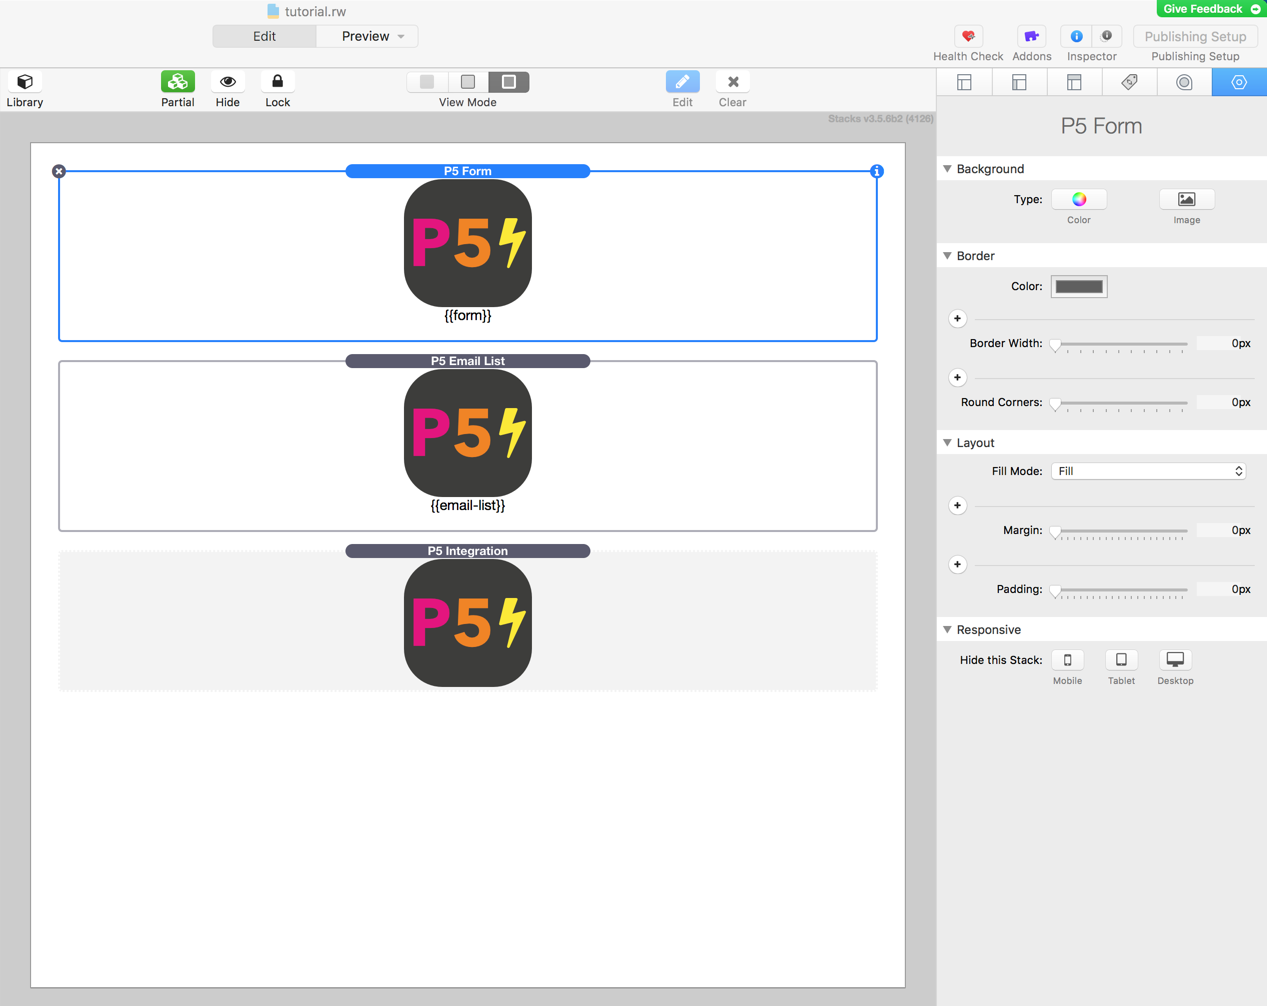
Contact Form and Email List Integration
The form feature in Pulse allows you to easily create and customize a simple form for your website.
To place a form on a page, add a P5 Form Stack, or use the respective tag {{form}}.
Same for the email list / newsletter integration. Place a P5 Email List Stack on the page, or use the tag {{email-list}}.
In order to display social share icons on the page, add a P5 Social Stack to the page, or use the tag {{social}}.
File Download (Delivery and Drop Zone Button)
The Delivery Stack will display all files in a media folder as an icon, so that it is possible to download them. Just specify the folder name for this.
The Drop Zone Button Stack allows to drop an own styled button into it, for referencing a distinct file in the media folder, or a subfolder of it.
Google Map
For displaying a Google map, add following tag to your page:
{{googlemaps:address=brooklyn children's museum-new york-usa}}
or
{{googlemaps:address=brooklyn children's museum-new york-usa,width=600,height=300,zoom=12}}
Password Protected Pages
In order to secure a RapidWeaver page with a password, add the following tag to the page:
{{sb_login:password}}
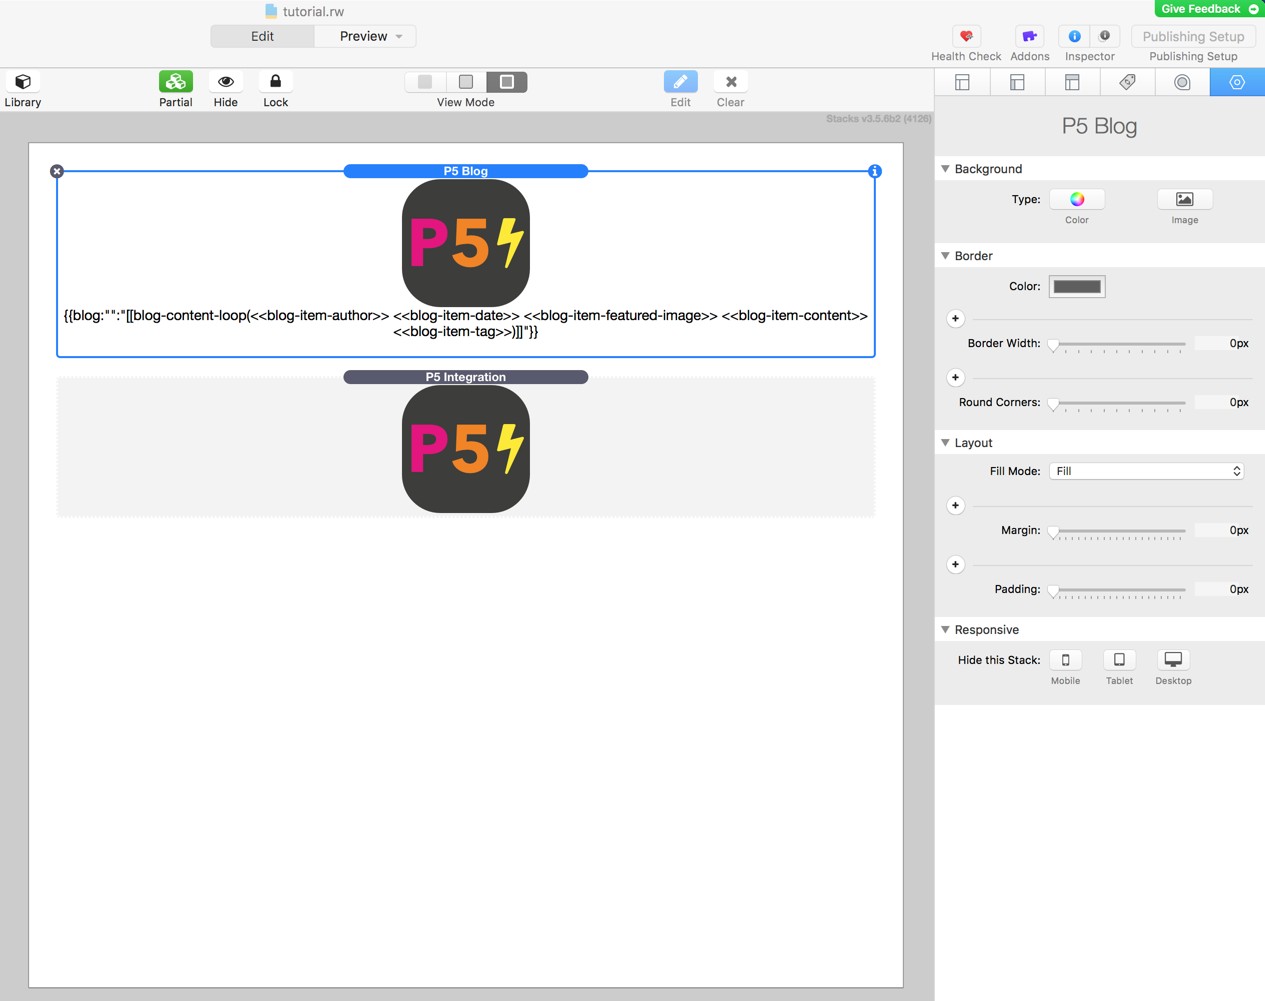
Blog Integration
Blog htaccess File
The blog feature allows you to add the default blog to any page on your site. This requires:
- a service side .htaccess file in the folder of the RapidWeaver page
- index.php as page name of the RapidWeaver page
- use of blog as default Pulse blog URL prefix
It is not possible to use sub blogs inside RapidWeaver
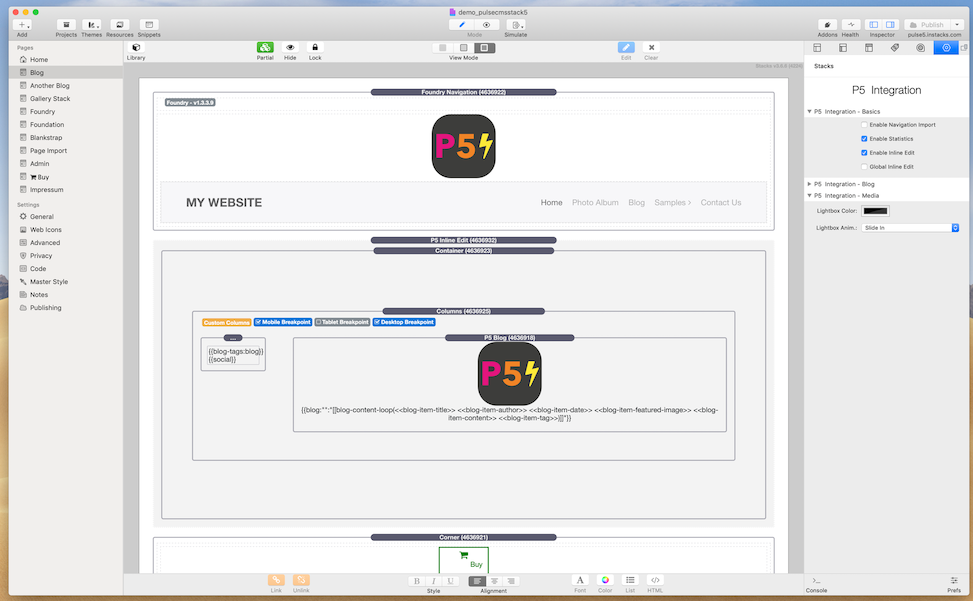
To place a blog on a page, add a P5 Blog Stack, or use the default tag {{blog}}.
Add in the server side folder following .htaccess file by using a FTP application. Be aware that the .htaccess file might be hidden on your Mac and / or in your FTP application.
Exchange "blogpage" with the actual folder name of your RapidWeaver blog page.
RewriteEngine On

RewriteBase /blogpage

RewriteRule ^blog-tag-([^-]*)+? ?p=blog&blog_tag_name=$1 [L,QSA]
RewriteRule ^blog-page-([^-]*)$ ?page=$1&p=blog [L,QSA]
RewriteRule ^blog-([^-]*)+? ?d=$1&p=blog [L,QSA]
Blog Tag
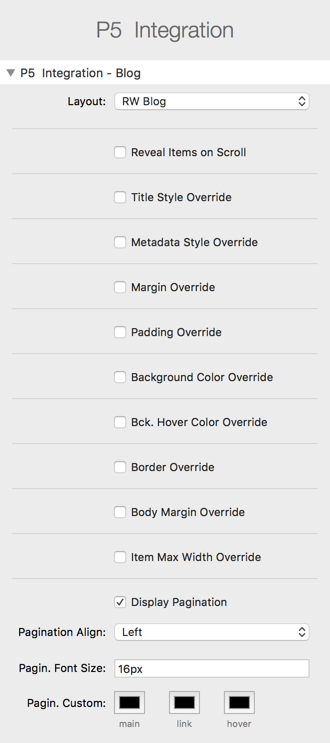
Blog Styling
The blog will be displayed in the styling of the selected RapidWeaver theme.
In addition, you are able to adapt the styling in the following way.
- Layout: Choose between a standard RapidWeaver blog, or multi column Flexbox design.
- Reveal Items on Scroll: Depending on the scroll position, blog posts are shown or hidden.
- Title and Metadate Style: Change the font style of title and metadata text.
- Marging, Padding and Body Margin: Add marging and padding to each blog post content area.
- Background Color and Background Hover Color: Add colors to the background of each post, or choose a color when hovering over them.
- Border: Style your borders with colors and round edges.
- Item Max Width: Define the maximal width of each blog post.
- Display Navigation: Turn navigation on and off, and give the links other colors.
These settings can be changed in the P5 Integration Stack.
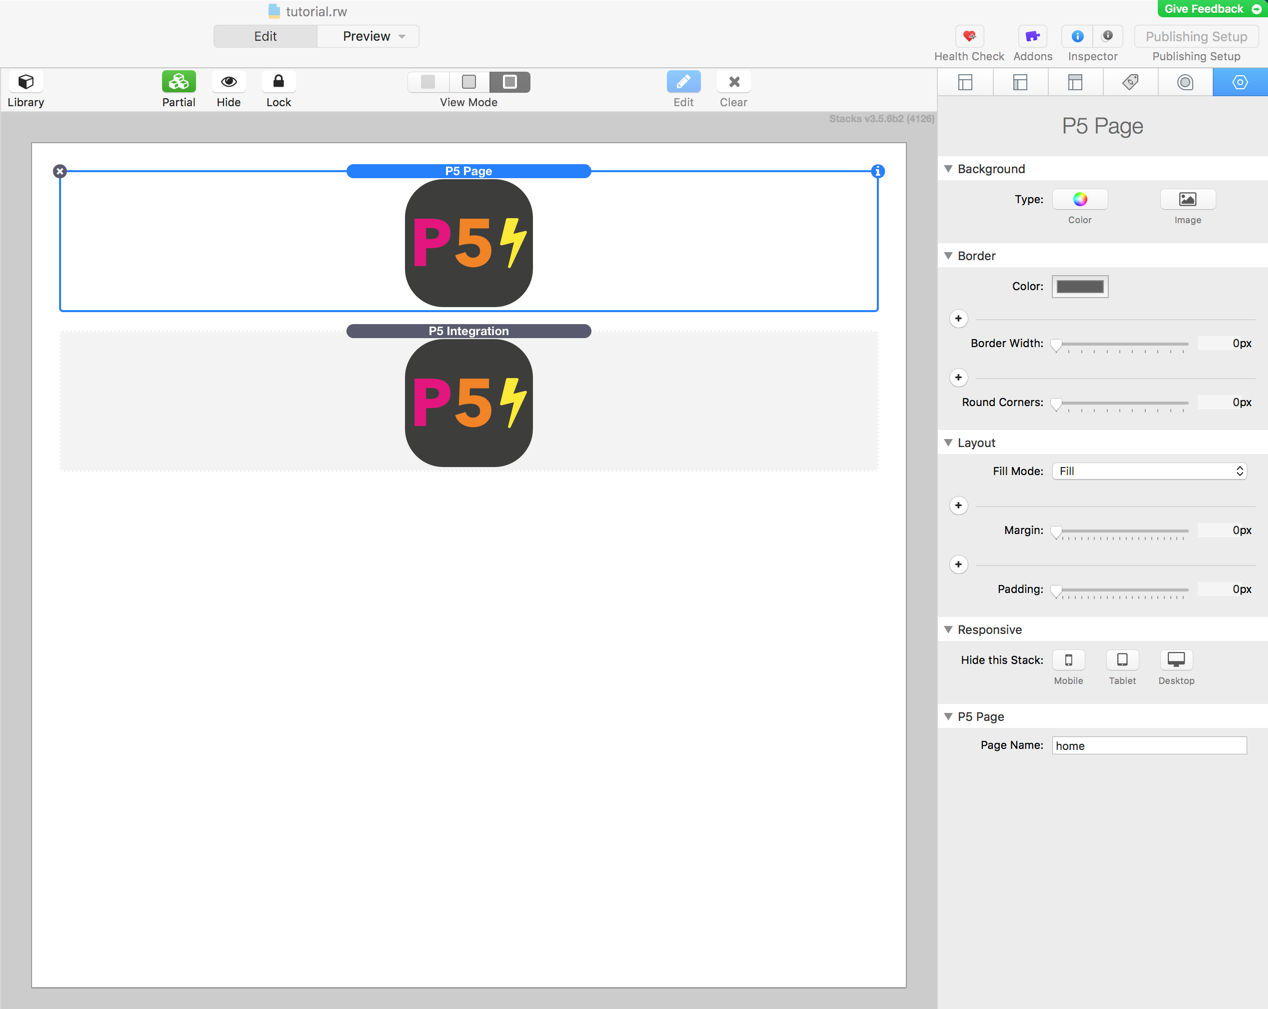
Full Page Integration
In order to import a full Pulse 5 page onto a RapidWeaver page, place a P5 Page Stack onto the page and adjust the page name. See the list of supported tags as reference, which tags are correctly displayed on the published RapidWeaver page.
Inline Edit
Inline edit allows you to edit content on the frontpage instead in the dashboard.
Therefore, inline edit must be enabled inside the dashboard, and the admin or editor must be looged in. See the Pulse manual for more information.
For normal non Stacks plugin based framework themes, use Enable Inline Edit and Global Inline Edit.
For Stacks plugin based framework themes like Foundation or Foundry, use the Inline Edit Stack, place all Pulse Content inside this container Stack, and use Enable Inline Edit only. Only use one Inline Edit Stack per page.

Statistics
Enabling statistics will update the statistics dashboard with page hits of the RapidWeaver pages.
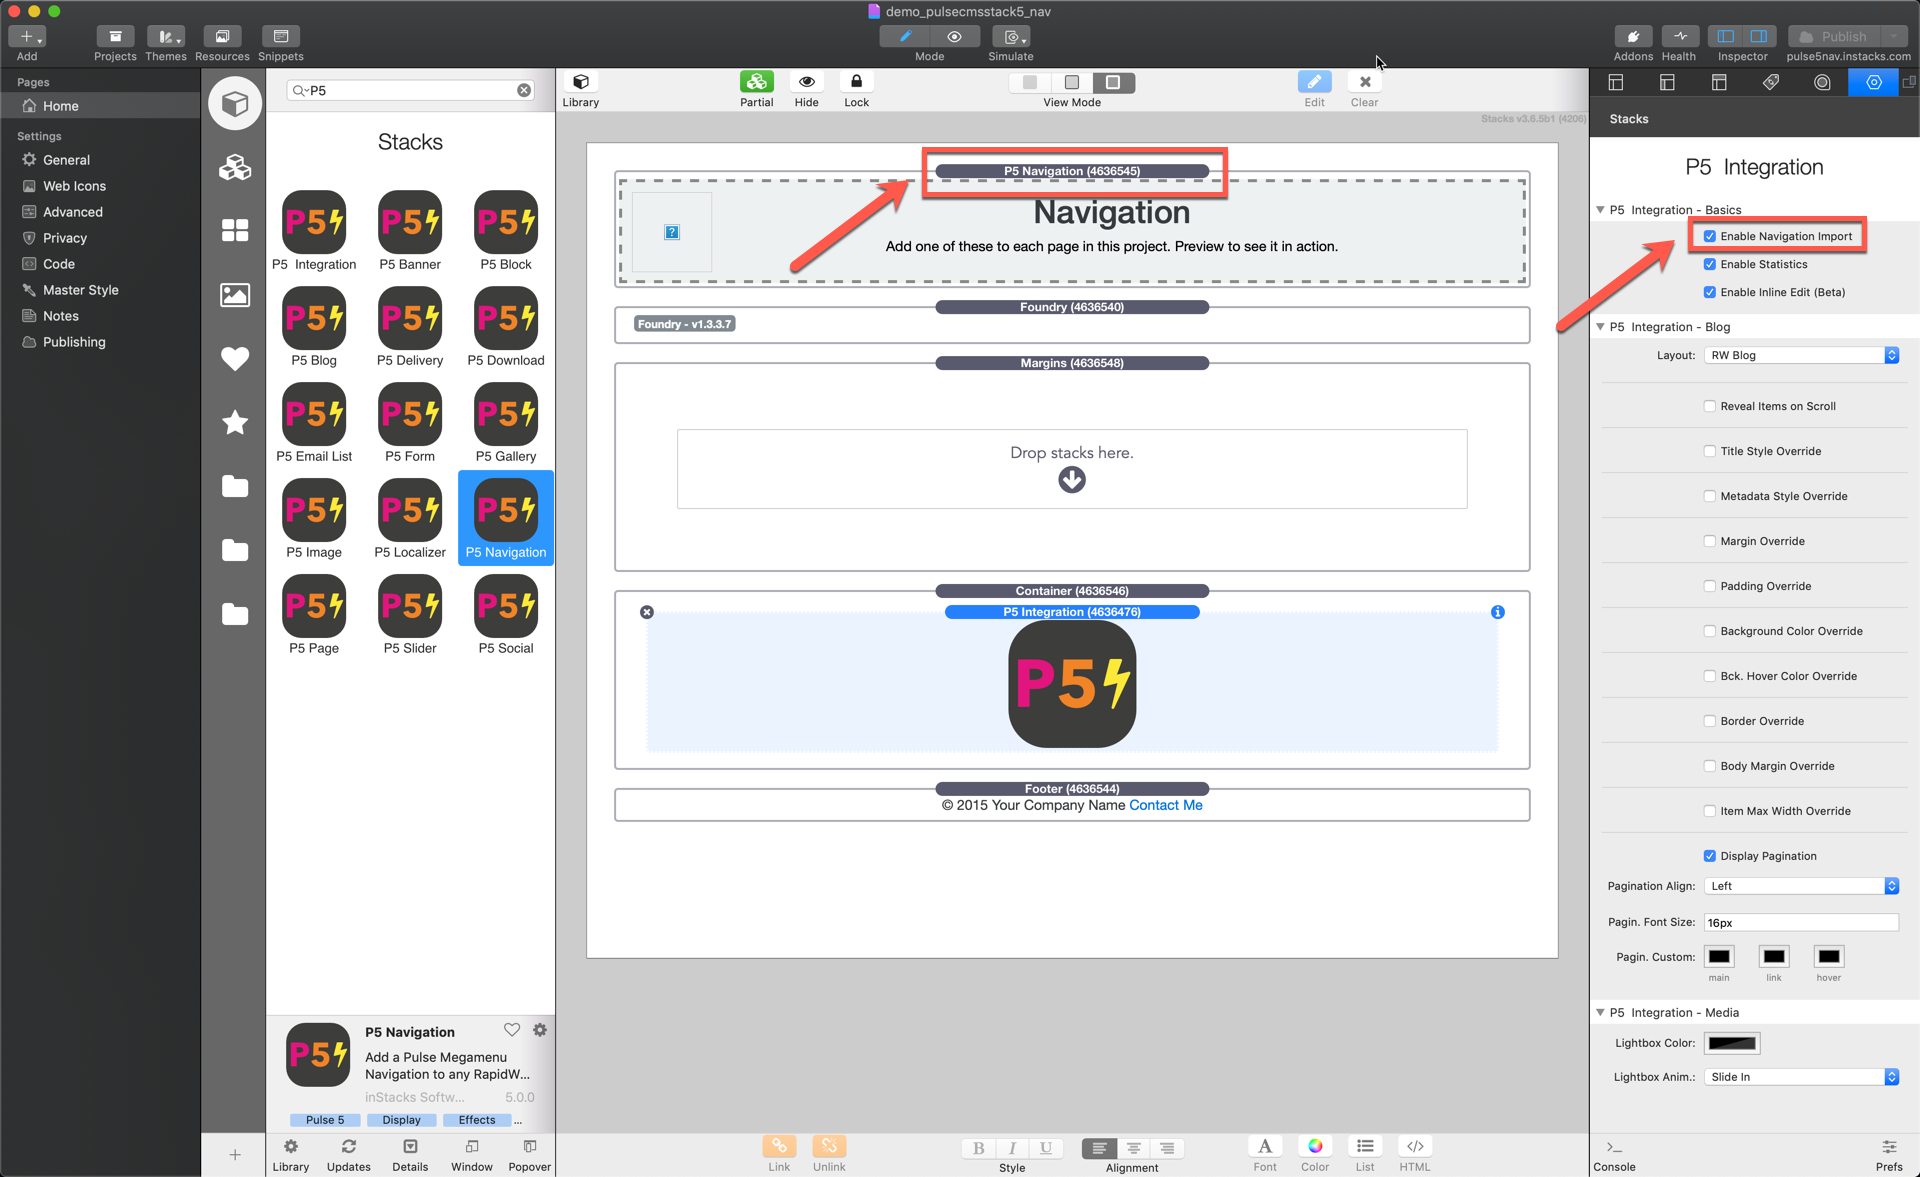
With navigation import, you are able to design your Pulse theme in RapidWeaver, and import the Pulse navigation items into your published RapidWeaver site.
The navgation import will only work with the supplied navigation stack and not with the navigation style of the selected theme.
The RapidWeaver project is only able to contain one template page, which has to include the P5 Navigation Navigation stack, and the P5 Integration Stack with having the setting "Enabe Navigation Import" checked. The page content of Pulse will be shown at the same place where the P5 Integration Stack resides.
Further more, for making the navigation in the published site work, a .htaccess file must be created in the root of your domain, see below. Pulse 5 itself must be installed as usual in the subdirectory /pulse
Demo: https://pulse5nav.instacks.com/
Download the demo project here.
See a screenshot of the one page template in RapidWeaver below:
.htaccess file to be created in the root of your domain.
RewriteEngine On

# Uncomment line 2 and 3 below if uploading issues via Media or Dropzone
# php_value upload_max_filesize 20M
# php_value post_max_size 25M

RewriteBase /

RewriteRule ^tagged\/(.*)$ ?p=blog&blog_tag_name=$1 [L,QSA]

RewriteRule ^blog-page-([^-]*)$ ?page=$1&p=blog [L,QSA]
RewriteRule ^blog-([^-]*)+? ?d=$1&p=blog [L,QSA]

# end points for embedding into non-Pulse sites
RewriteRule ^endpoint\/(.*)$ end_point.php?item=$1 [L,QSA]

# drop zone upload handler
RewriteRule ^dropzone_upload_handler.php$ dropzone_upload_handler.php [L,QSA]

RewriteCond %{REQUEST_FILENAME} !-f
RewriteCond %{REQUEST_FILENAME} !-d
RewriteRule ^(.*)$ index.php?p=$1 [QSA,L]

# Adds SVG image support
AddType image/svg+xml svg svgz
AddEncoding gzip svgz

# block directory listing
Options -Indexes
List of Supported Tags
Following tags are supported via full page import, or entered directly on the RapidWeaver page.
- block
- sb_block
- localizer
- sb_localizer
- gal
- masonry
- thumbs
- slide
- media_player
- form
- email-list
- social
- googlemaps
- sb_login
- blog
- blog-tags
- blog-show
- blog-list
- recentposts
Social Share Icons