Migration from Repository 1
Improvements and Differences to Repository Stack 1
Repository Stack 2 is now a real stack. This will allow you to place additional content on the same page as Repository Stack 2, like login information, branding, footer, etc.
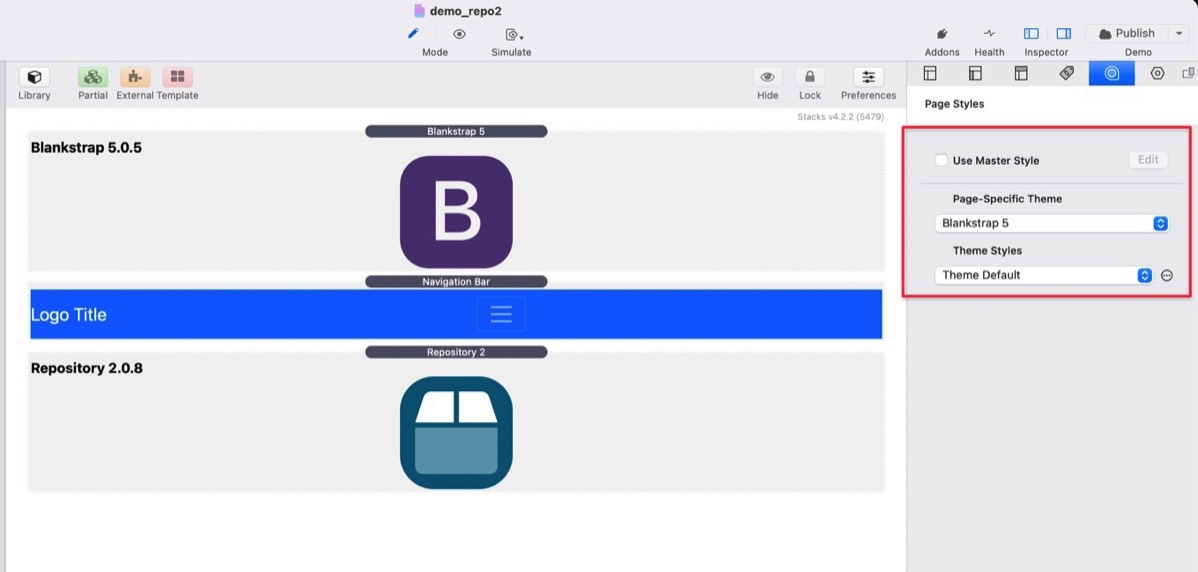
Repository Stack 1 came with it's own theme based on Bootstrap 3, overwriting the theme which was used for the project. Repository Stack 2 depends on a page specific theme setting using Blankstrap 5 theme (or Foundry v3). The overall project theme is possible to remain the original selected theme like a standard theme, or any other framework like Foundation. For more information and free download of Blankstrap 5 theme check out https://instacks.github.io/blankstrap/.
Repository Stack 1 came with two basic authentication users. Repository Stack 2 comes with one basic authentication user.
Repository Stack 2 is able to integrate with UserAccess Stack for a dynamic subfolder creation, based on the logged in client. No more seperate Repository Stack installations are needed for different client permissions. For more information of UserAccess Stack check out https://instacks.com/useraccessstack/.
Repository Stack 2 allows to mass generate thumbnails of an directory with images, which works smoothly together with Gallery Stack 3 or Iconic Gallery.
Furthermore, improvements have been done to use a data table with filter and pagination options. The search now is more intuitive. Additional translations are provided.
Migration from Repository Stack 1
Migration from Repository Stack 1 is fairly simple.
- Download and install Repository Stack 2.
- Download and install Blankstrap 5 theme and stacks.
- Select for the same page, where Repository Stack 1 is placed on, Blankstrap 5 (or Foundry v3) as page specific theme. For more information see https://instacks.github.io/blankstrap/download/.
- Place the Blankstrap 5 Core and the Navigation stack on the page (or Foundry v3 Control Center) . For more information see https://instacks.github.io/blankstrap/navigation/.
- Place the Repository Stack 2 on the page and perform all configuration settings also done on Repository Stack 1, in detail the settings for the installation directory. Afterwards, remove Repository Stack 1 from the page.
Please be aware that it is not possible to use Repository Stack 1 and 2 on the same page.